How to Test Internet Speed from the Command Line on Windows, macOS, and Linux
An internet speed test from the command line measures how quickly your computer exchanges data with a selected test server. It is useful for repeatable checks, remote machines, and lightweight monitoring, but one result is not a guarantee of the speed every app or website will receive. This guide explains what the measurements mean, compares common tools, and shows how to separate an internet-path result from a local-network test.
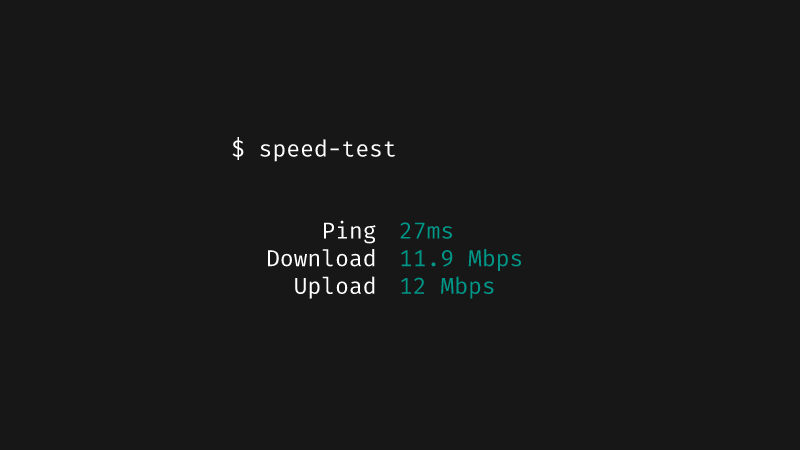
What Is an Internet Speed Test?
An internet speed test sends and receives data between a test client and a remote server, then reports measurements such as download throughput, upload throughput, and latency. Throughput is usually shown in megabits per second (Mbps); file sizes are often shown in megabytes (MB), where one byte is eight bits.
The test describes the path used at that moment, including your device, local network, internet provider, and selected server. It does not directly measure every route, service, or device in your home.
Why Test from the Command Line?
A terminal test is easy to repeat and can run on a headless server or inside a script. It is useful when comparing a wired connection with Wi-Fi, collecting a baseline before contacting an ISP, or checking a remote host without opening a browser.
The command line does not make a test inherently more accurate. Results still depend on the test server, the device running the test, concurrent traffic, and the way the tool generates traffic. For a broader troubleshooting workflow, see our guide to network performance optimization.
How It Works
A typical public speed test follows this path:
test client → Ethernet or Wi-Fi → router/modem → ISP access network → internet routing → selected test server
The client first selects or contacts a server, then transfers data in one or more flows and calculates throughput from the bytes received or sent over time. Multiple parallel flows can help use a high-capacity connection, but they also mean the test is not identical to a single download. The server’s location and capacity matter: a distant or busy server can limit the result even when the access link has more capacity.
Latency is a separate measurement. A low idle ping does not prove that a connection can sustain a high transfer rate, and a high throughput result does not guarantee low delay while the link is busy. The RFC 6349 TCP throughput testing framework describes why TCP throughput should be interpreted in the context of the path and its conditions.
Tools and Variants
| Tool | What it measures | Best use | Main limitation |
|---|---|---|---|
| Ookla Speedtest CLI | Throughput and latency to an Ookla-selected or chosen test server | A quick public internet-path check from Windows, macOS, or Linux | One server and one moment may not represent every destination or time |
| Fast.com | Download performance to Netflix’s test infrastructure, with more details available in its interface | A second public-service measurement for comparison | The website is browser-based; avoid confusing it with similarly named third-party CLI packages |
| iperf3 | TCP or UDP throughput between two endpoints you control | Separating LAN or a known WAN path from an ISP speed-test result | It requires a server at the other end and does not by itself measure your internet plan |
curl download |
Transfer rate for one URL and its server/CDN path | Checking a particular file or service | Cache, file size, server load, and protocol behavior make it a poor general speed-test substitute |
Real-World Use Cases
- Check a home or office connection: Compare a wired test with a Wi-Fi test to see whether the local wireless link is likely to be the bottleneck.
- Collect evidence for an ISP issue: Save several measurements with timestamps, server names, and connection details instead of relying on a single test.
- Monitor a remote system: Run occasional tests from a server to observe changes on that server’s network path. This does not represent the connection at a user’s home.
- Separate local and internet capacity: Run
iperf3between two machines you administer, then compare that controlled result with a public test. If local throughput is already poor, investigate the LAN before the ISP. - Estimate streaming headroom: Measure download throughput and compare it with the service’s current recommendations; see our guide to internet speed for streaming.
Practical Considerations
Install and run Ookla Speedtest CLI
Install the current Speedtest CLI package for your operating system using the official Ookla CLI download and setup instructions. The speed-test and fast-cli names in older tutorials refer to separate third-party Node.js packages, not Ookla’s official CLI; check a package’s current maintenance, dependencies, and permissions before installing it.
Read the CLI’s license and privacy prompts before accepting them. To run an interactive test:
speedtest --accept-license --accept-gdprTo request machine-readable output for logging or further processing:
speedtest --accept-license --accept-gdpr --format=jsonUse the same computer, connection type, and test server when comparing results. Run a small number of tests at different times rather than repeatedly saturating the connection. Record the selected server and whether a VPN or other heavy traffic was active.
Test a controlled path with iperf3
For a local-network check, start a server on one machine you control:
iperf3 -sFrom a second machine on the same network, run a timed TCP test and then test the reverse direction:
iperf3 -c <server-address> -t 30 -P 4
iperf3 -c <server-address> -t 30 -P 4 -R
The -P 4 option uses four parallel streams; compare with a single stream if you need to see whether one flow behaves differently. Only run tests against endpoints you own or are authorized to use, because throughput tests can consume substantial bandwidth. Consult the iperf3 invocation reference for available options.
Troubleshoot low results systematically
- Pause large downloads, cloud backups, and video calls, then run a few tests to different nearby servers.
- Repeat once over Ethernet if possible. If wired results improve substantially, investigate Wi-Fi signal, interference, and router placement.
- Compare two local devices and, if available, an
iperf3test on your LAN. A poor LAN result points to a local link or device issue. - Retest without a VPN only if your network policy allows it. A VPN changes the path and may reduce throughput.
- Save timestamps and results. If wired tests remain consistently below the plan’s expected range across more than one server, share that evidence with your provider.
For Linux-specific reachability, routing, and interface checks, follow our Linux network troubleshooting guide.
Common Misconceptions
- A speed test is the speed of every website. It is a sample of one path to one service. Content delivery networks, peering, server load, and application behavior can produce different results elsewhere.
- A high Mbps result means every app will feel fast. Latency, packet loss, jitter, and server response time also affect interactive applications.
- Changing DNS increases download throughput. DNS can affect how quickly a hostname is resolved, especially before a connection starts, but it does not increase the capacity of an established data transfer. If name resolution itself is slow, see our Google DNS setup guide.
- An
iperf3result is an ISP speed test. It measures the path between its two endpoints. A LAN test is useful for isolating local capacity, not for proving internet-plan performance. - More test runs always improve accuracy. Repeated tests can congest a shared link and distort the conditions being measured. Use a few controlled samples and note the context.
Related Articles
- Network performance optimization: metrics and troubleshooting
- Linux network troubleshooting guide
- Internet speed requirements for streaming
- How to use Google DNS